Troubleshooting Common Issues in 3D-Printed Whistle Fabrication
Introduction to 3D-Printed Whistle Fabrication
3D printing has revolutionized the way we create objects, offering unparalleled precision and customization. One such object that has gained popularity in the 3D printing community is the whistle. Whether for educational purposes, musical instruments, or emergency signaling, 3D-printed whistles are both functional and fun to make. However, like any 3D printing project, fabricating a whistle comes with its own set of challenges. This article will explore common issues encountered during the process and provide practical solutions to ensure your whistle prints successfully.
Choosing the Right Design and Software
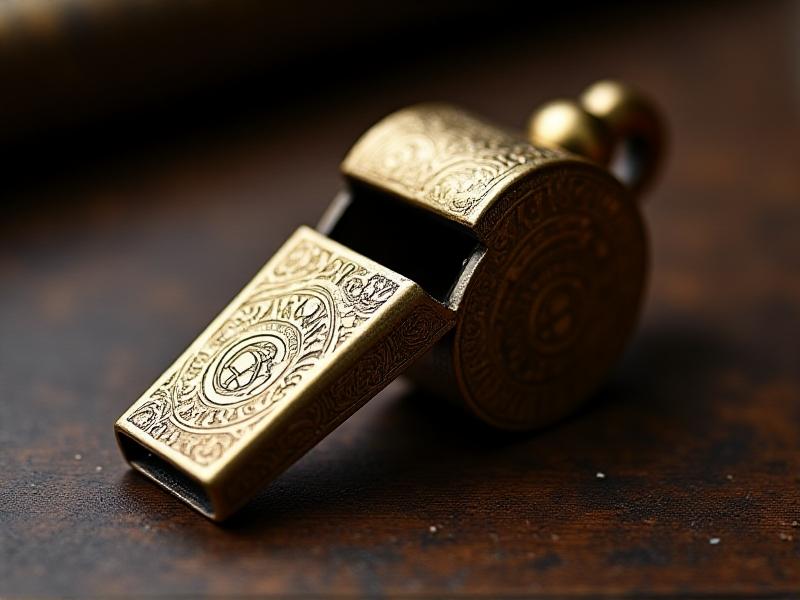
The first step in 3D-printed whistle fabrication is selecting the right design and software. A well-designed whistle will have a clear air passage, a precise mouthpiece, and a resonant chamber. Using CAD software like Tinkercad or Fusion 360, you can create or modify designs to suit your needs. Ensure that the design is optimized for 3D printing by checking for overhangs, wall thickness, and support structures. A poorly designed model can lead to printing failures or a non-functional whistle.
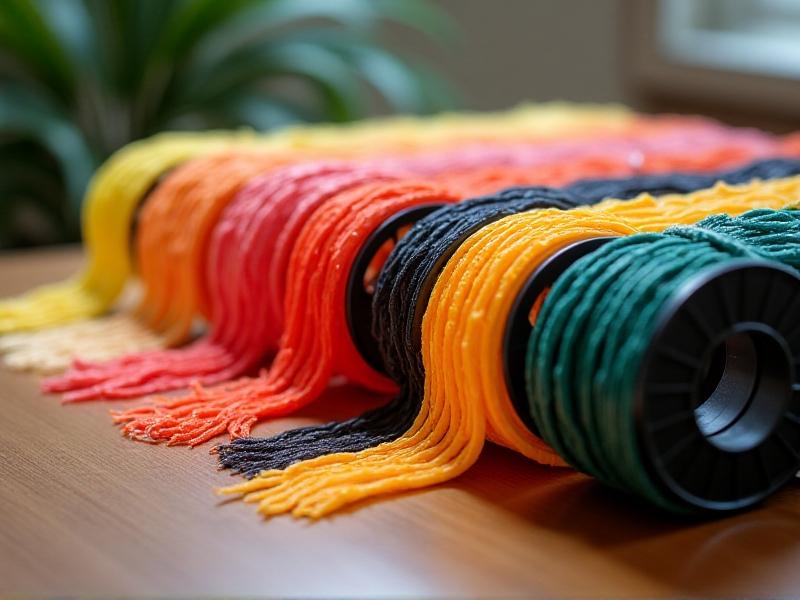
Material Selection for Durability and Sound Quality
The material you choose for your whistle can significantly impact its durability and sound quality. PLA is a popular choice due to its ease of use and availability, but it may not produce the best sound. ABS and PETG offer better durability and acoustic properties but require higher printing temperatures. Consider the intended use of the whistle—whether it’s for indoor play or outdoor activities—when selecting the material. Additionally, ensure that the material is compatible with your 3D printer to avoid clogging or warping during the printing process.
Calibrating Your 3D Printer for Precision
Proper calibration of your 3D printer is crucial for achieving a high-quality whistle. Start by leveling the print bed to ensure the first layer adheres correctly. Adjust the nozzle height and temperature settings based on the material you’re using. Calibrate the extruder to ensure consistent filament flow, which is essential for creating the fine details of a whistle. Running a few test prints before beginning the real project can help find and fix any calibration problems.

Addressing Common Printing Defects
Printing defects such as stringing, layer shifting, and warping can ruin the functionality of your whistle. Stringing occurs when excess filament oozes out during travel moves, while layer shifting results from misaligned axes. Warping happens when the print cools unevenly, causing it to lift from the bed. To minimize these issues, adjust retraction settings, ensure the printer’s belts are tight, and use a heated bed or enclosure to maintain consistent temperatures. Regularly cleaning the nozzle and ensuring proper filament storage can also prevent defects.
Post-Processing for a Polished Finish
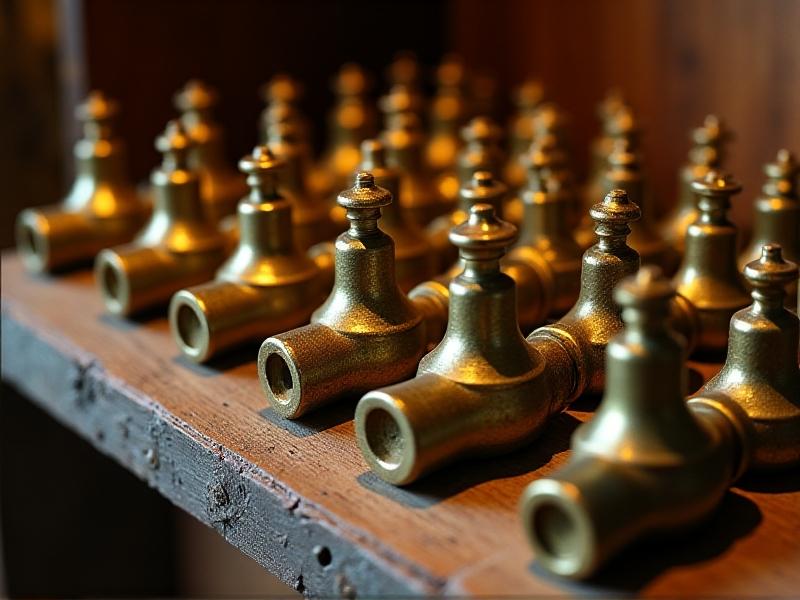
Post-processing is the final step in creating a functional and aesthetically pleasing whistle. Carefully remove any support systems to prevent print damage. Sand the surface to smooth out rough edges and improve the whistle’s feel. For a glossy finish, consider using a polishing compound or applying a clear coat. If the whistle doesn’t produce sound, inspect the air passage and mouthpiece for blockages or imperfections. A little extra effort in post-processing can make a significant difference in the final product.
Testing and Troubleshooting Sound Quality
Once your whistle is printed and post-processed, it’s time to test its sound quality. A well-designed whistle should produce a clear, loud tone. If the sound is weak or muffled, check for obstructions in the air passage or mouthpiece. Adjusting the size of the resonant chamber or the angle of the mouthpiece can also improve sound quality. If the whistle still doesn’t perform as expected, revisit the design and printing process to identify potential issues. Testing and iterating are key to achieving the perfect whistle.
Conclusion: Mastering 3D-Printed Whistle Fabrication
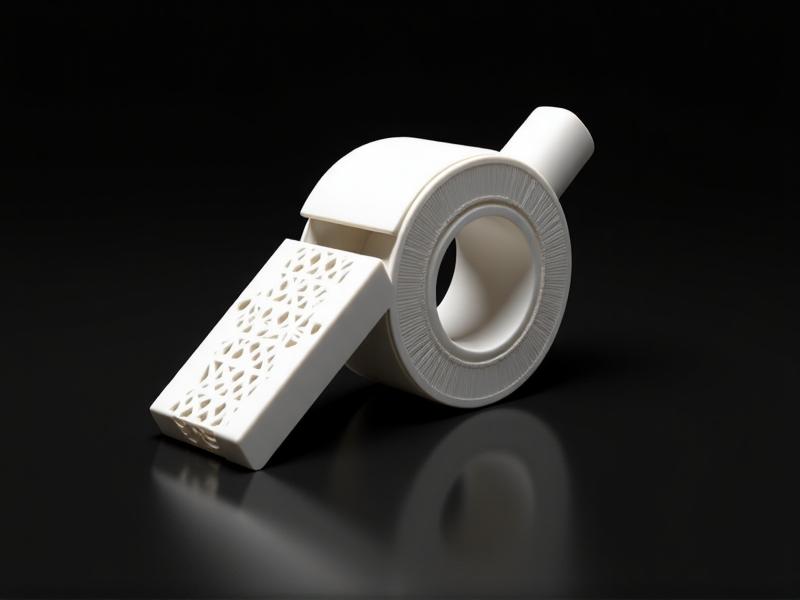
Creating a functional and high-quality 3D-printed whistle requires attention to detail at every stage of the process—from design and material selection to printing and post-processing. By addressing common issues and following best practices, you can master the art of whistle fabrication. The pleasure of holding a flawlessly printed whistle that generates a clear, resonant sound is well worth the work whether you are a professional or a hobbyist. Happy printing!