3D Printing Custom Whistles: Techniques and Best Practices
Introduction to 3D Printing Custom Whistles
3D printing has revolutionized the way we create custom objects, offering unparalleled flexibility and precision. One such application is the creation of custom whistles, which can be tailored to specific needs, whether for sports, music, or personal use. This article explores the techniques and best practices for 3D printing custom whistles, ensuring that your designs are both functional and aesthetically pleasing.
Choosing the Right Materials for 3D Printed Whistles
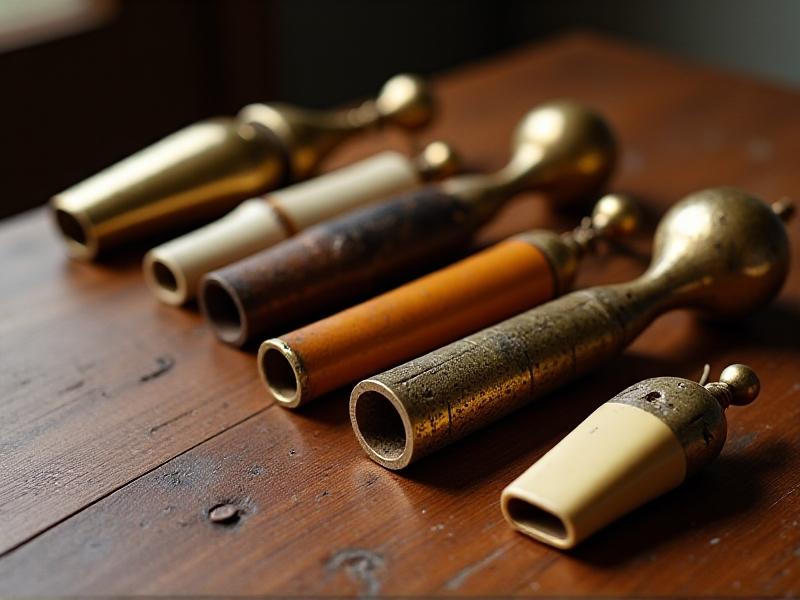
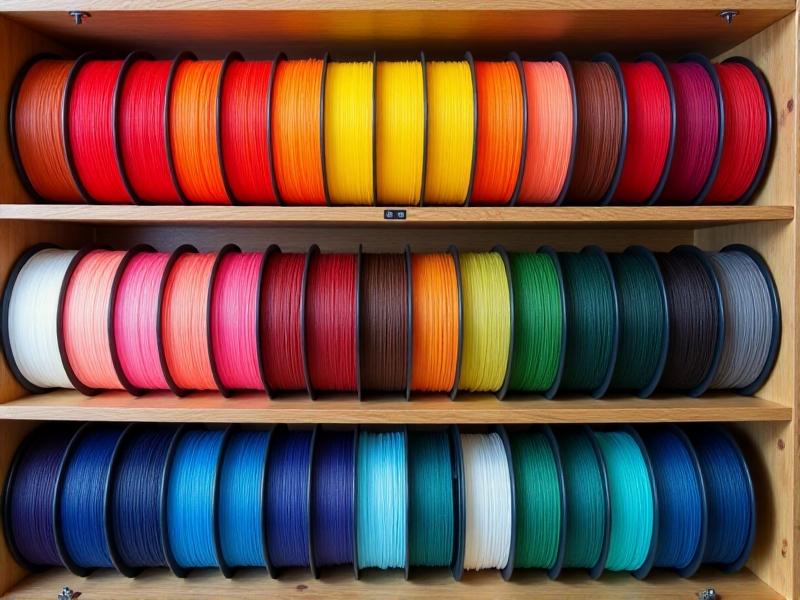
Selecting the appropriate material is crucial for the functionality and durability of your 3D printed whistle. Common materials include PLA, ABS, and PETG, each offering unique properties. PLA is easy to print with and environmentally friendly, while ABS is more durable and heat-resistant. PETG strikes a balance between the two, offering both strength and flexibility. Consider the intended use of the whistle when choosing your material.
Designing Custom Whistles: Tips and Techniques
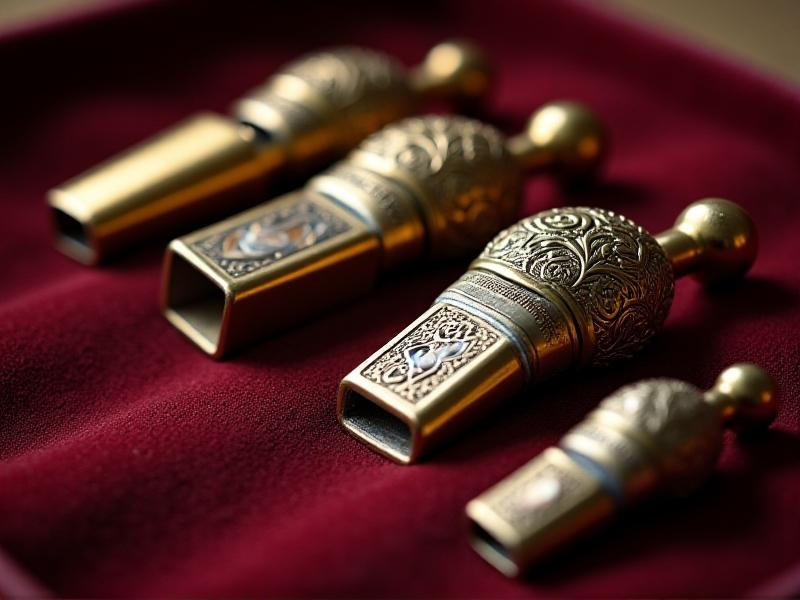
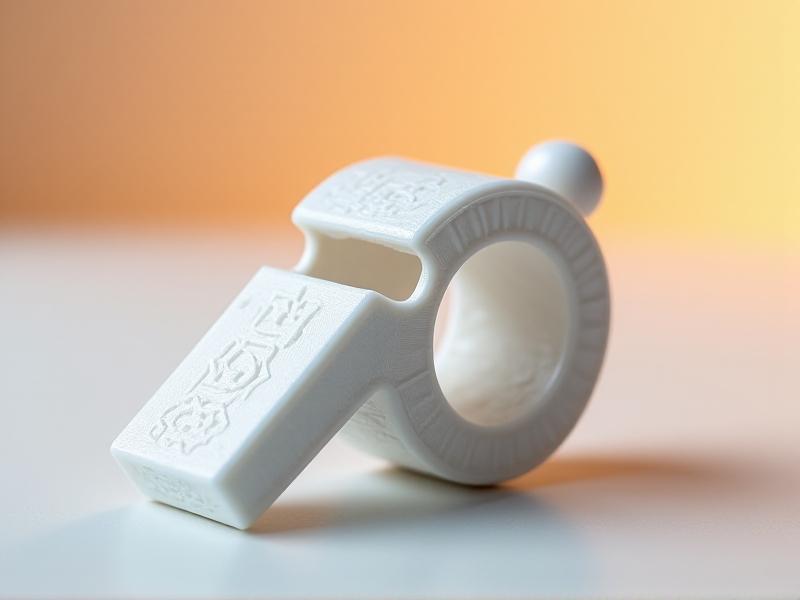
Designing a custom whistle involves more than just creating a functional shape. Consider the ergonomics, sound quality, and aesthetic appeal of your design. Use CAD software to create precise models, and don’t be afraid to experiment with different shapes and sizes. Incorporate features like finger grips or decorative patterns to enhance the user experience. Testing your design with prototypes is essential to ensure it meets your expectations.
Optimizing 3D Printing Settings for Whistles
To achieve the best results, it’s important to optimize your 3D printer settings. Layer height, print speed, and infill density all play a role in the final quality of your whistle. A lower layer height will result in a smoother surface, while a higher infill density will increase the whistle’s strength. Experiment with different settings to find the perfect balance between print quality and speed.
Post-Processing Techniques for 3D Printed Whistles
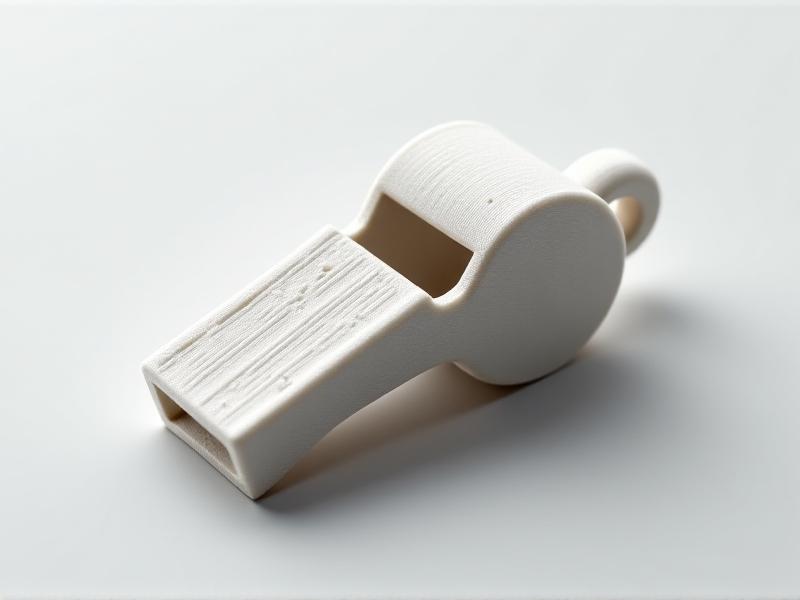
Post-processing can significantly enhance the appearance and functionality of your 3D printed whistle. Techniques such as sanding, painting, and applying a clear coat can improve the surface finish and durability. Additionally, consider using a food-safe coating if the whistle will come into contact with the mouth. Proper post-processing ensures that your whistle not only looks great but also performs well over time.
Testing and Quality Assurance for 3D Printed Whistles
Before finalizing your design, it’s essential to thoroughly test your 3D printed whistle. Check for any defects, such as warping or layer separation, and ensure that the whistle produces a clear, consistent sound. Conduct stress tests to evaluate the whistle’s durability under various conditions. Quality assurance is a critical step in the production process, ensuring that your whistle meets the highest standards.
Creative Applications of 3D Printed Whistles
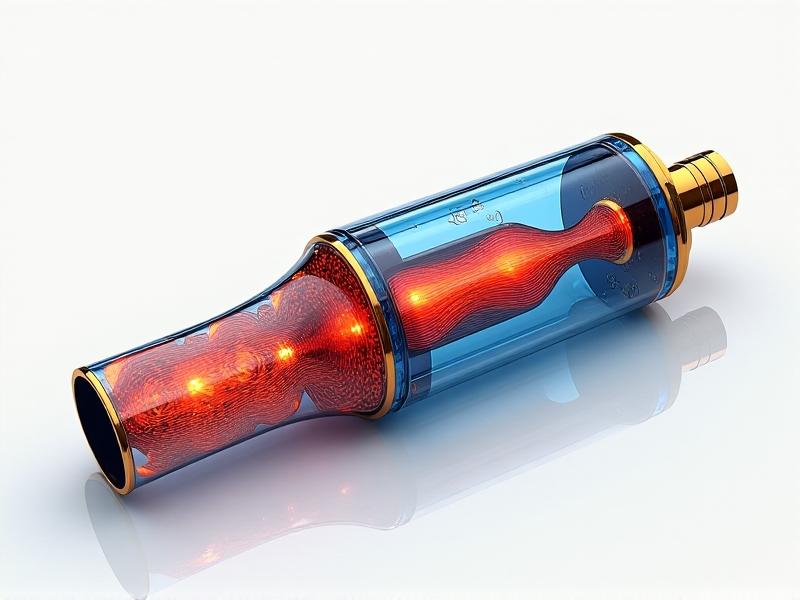
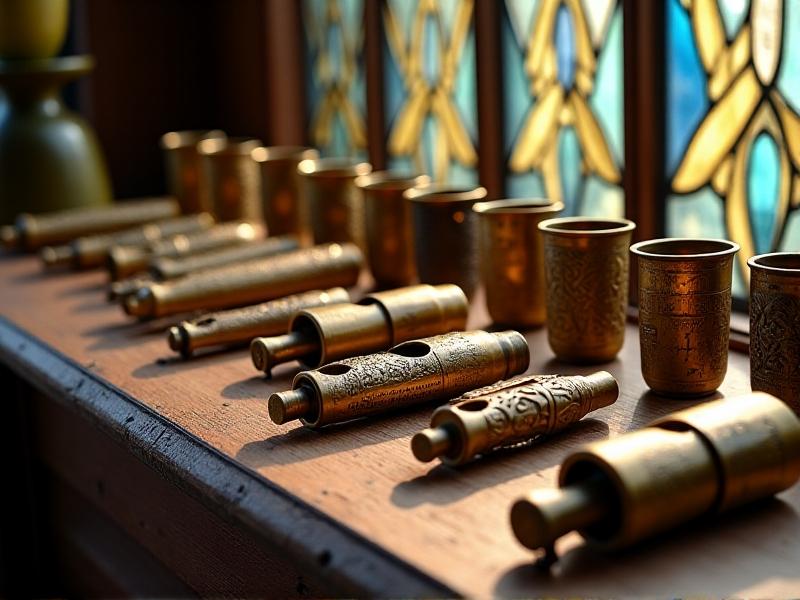
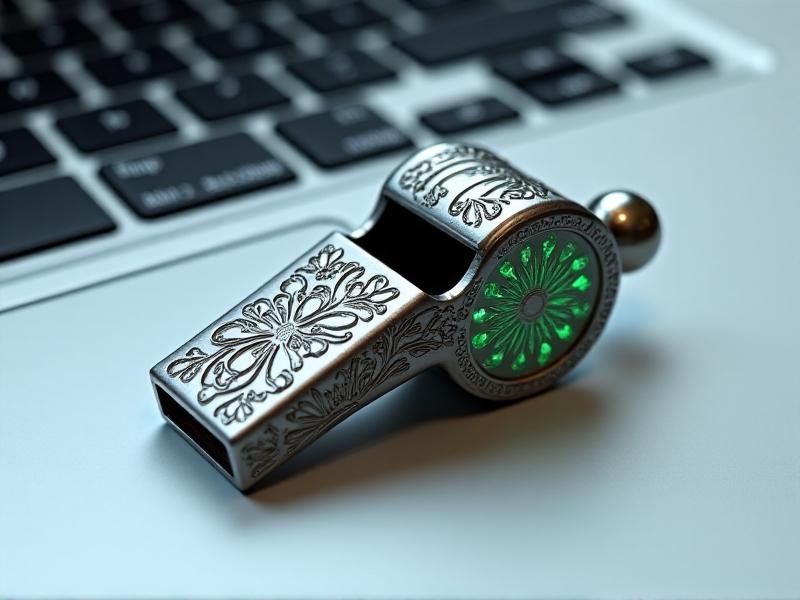
3D printed whistles are not limited to traditional uses; they can be customized for a wide range of creative applications. From musical instruments to promotional items, the possibilities are endless. Consider incorporating unique features, such as built-in LED lights or personalized engravings, to make your whistle stand out. The flexibility of 3D printing allows you to push the boundaries of what’s possible with a simple whistle.
Conclusion: The Future of 3D Printed Whistles
As 3D printing technology continues to advance, the potential for creating custom whistles is only going to grow. With the right materials, design techniques, and post-processing methods, you can produce whistles that are both functional and visually appealing. Whether for personal use or commercial applications, 3D printed whistles offer a unique combination of customization and innovation that is hard to match with traditional manufacturing methods.